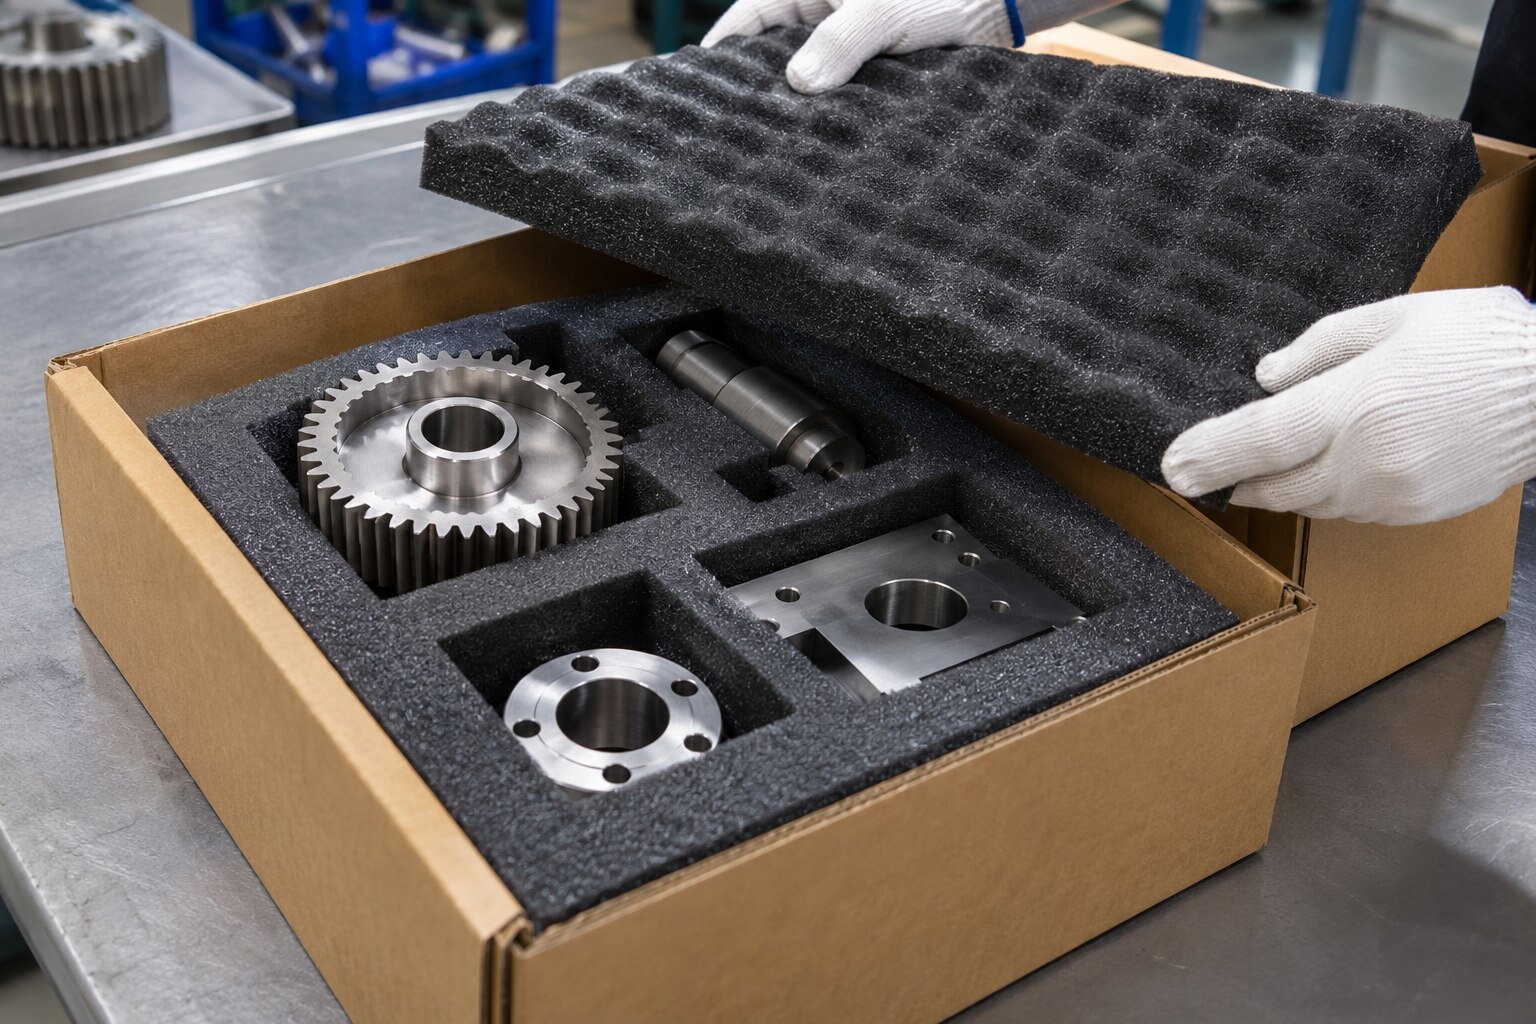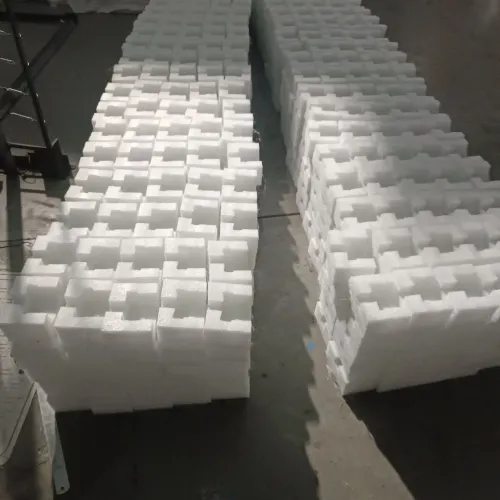


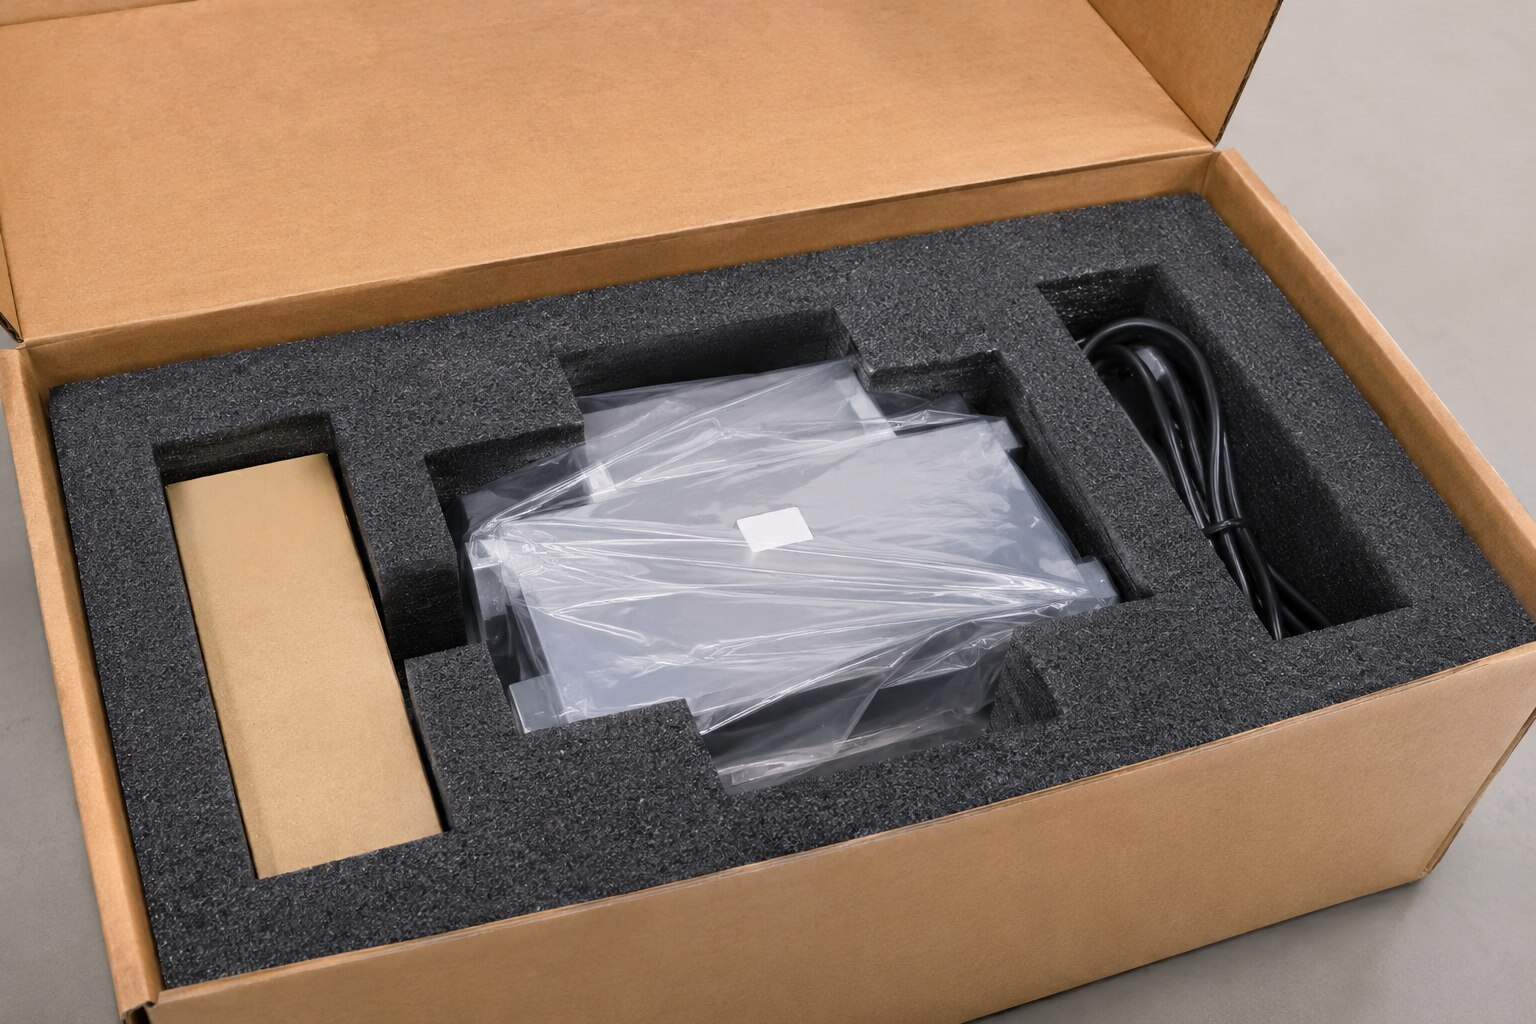
A product can match a foam outline and still slide, rotate, rattle or strike the carton because the cavity does not restrain it in every relevant direction. You will learn how to measure the product, design locating features, choose a cutting method, specify tolerances and validate the finished insert before committing to production.
Key takeaways
- Control sliding with accurately positioned cavities and end stops.
- Prevent lift with compression zones sized for the product.
- Keep contact pads away from fragile screens, lenses and controls.
- Validate fit with repeated packing, handling and transit checks.
How a Custom-Cut Foam Component Stops Sliding, Rotation and Impact
A matching outline is not enough: an insert must restrain the product in every direction. Custom Cut Foam Components stop sliding with accurately positioned cavities and side walls, limit end-to-end travel with end stops, and prevent lift with controlled compression zones. Contact pads should control rotation without pressing on fragile controls, lenses or screens.
Specify the restraint for each movement:
- Lateral movement: broad side-wall contact and load-bearing pads, not narrow pressure points.
- Vertical lift: measured preload that holds the product without forcing insertion or removal.
- Rotation: opposing pads placed on structurally strong areas.
- End-to-end travel: end stops with clearance for connectors, handles and other protrusions.
- Accessory impact: separate pockets or layers that stop cables, tools and loose parts striking the main product.
Broad contact spreads compressive stress and reduces crushing, creep and pressure marks. Excessive segmentation creates more barriers but consumes package volume and reduces the foam thickness available to absorb a drop.
Product Protection depends on mass, drop height, available foam thickness and the foam’s stress–strain behaviour. A soft foam can bottom out against the carton; an overly stiff foam can transmit excessive peak acceleration. Vibration adds another failure path: resonance can amplify motion, while foam-to-carton movement creates rubbing and repeated impacts.
Check compression set too, because lost thickness reduces preload and recreates clearance during storage or repeated shipments.
How to Measure the Product and Design a Safe, Usable Cavity
Measure the product at its largest points and record overall length, width, and height. Map every protrusion, handle, connector, switch, lens, screen, seam, and fragile or cosmetic surface; a ruler misses the space needed for a plug or cable bend.
1. Set the cavity size from the product’s real contact points, not its outline alone. Allow clearance around connectors, switches, lenses, screens, seams, and painted surfaces. Use controlled compression on structurally strong areas to create retention, and add relief around vulnerable features.
2. Define how the Custom Foam Inserts support the load. Spread weight across broad pads, shorten unsupported spans, use suitable corner radii, and provide enough base thickness to prevent bottoming out. Check lid clearance so the closed package does not press on the product.
3. Make loading practical. Add finger-access cut-outs, orientation marks, and lead-ins where needed. Specify the insertion force for hand packing; automated loading requires consistent force and alignment, not a cavity that accepts one operator’s technique.
4. Reject an over-tight design if insertion is forced, the foam pinches, the product deforms, controls become blocked, or a lens or screen carries pressure. Difficult removal is also a failure, even when the insert appears secure.
A snug fit holds the product without forcing it. For Product Protection, keep contact on strong structural zones while using clearance or compliant relief around delicate features; otherwise small dimensional variation can turn retention into damage. Check the actual product in a production-intent sample before ordering.
How Precision Foam Cutting Changes the Fit, Cost and Repeatability
The cutting method changes fit, production cost and repeatability. Choose it against the cavity’s geometry, quantity and revision risk.
| Method | Best fit | Main trade-off |
|---|---|---|
| CNC routing | Prototypes, stepped cavities and complex three-dimensional geometry | Tool marks, cutter-defined corner radii and controlled depth; revisions are easy |
| Knife cutting | Sheet work and lower-volume two-dimensional profiles | Flexible and inexpensive to revise, but unsuitable for deep or highly contoured cavities |
| Die cutting | Repeatable two-dimensional shapes and larger runs | Tooling adds upfront cost, while depth and geometry remain limited |
| Waterjet cutting | Intricate profiles and selected materials where heat-free cutting matters | Longer cycle time and higher cost can outweigh profile flexibility |
CNC routing gives you depth control, but inspect tool marks where a product contacts the foam. A small internal corner radius can also interfere with a square product corner. Die cutting improves repeatability after the tool is made; it does not suit every stepped or three-dimensional design.
Precision Foam Cutting does not remove the need for tolerances. Foam dimensions change with formulation, density, thickness, temperature and cutting method, and the relaxed part will not measure like compressed foam.
Put these details on the drawing:
- Datum references for locating measurements
- Critical cavity dimensions
- Allowable variation for each critical dimension
- Inspection condition: foam relaxed or compressed
- Compression amount or intended preload
Custom Cut Foam Components stay repeatable only when production samples are measured under the same conditions used for approval. A tight nominal dimension without that information creates inconsistent insertion force, retention and product fit.
What to Give a Supplier and How to Specify Practical Tolerances
A nominal price means little if the supplier has only length, width and height. Send enough information to define the fit, cushioning load and manufacturing route before requesting a prototype or quotation.
- Product drawing, STEP or CAD file, and a physical sample when available; mark measured protrusions, handles, connectors, switches, lenses, screens and fragile surfaces.
- Foam type, density, thickness, required quantity, cavity layout, external package size and stacking conditions.
- Insertion method: manual loading, automated loading or repeated removal.
- Shipping hazards: drop height, vibration, compression, moisture and temperature range.
Density alone does not define Product Protection. Foams with similar density can differ in indentation-force-deflection, compression set, resilience, tensile strength and tear resistance.
| Specification | Incomplete brief | Usable brief |
|---|---|---|
| Material | “EVA, 30 density” | Foam formulation, density, thickness and required performance tests |
| Cavity | Product outline only | Critical dimensions, contact zones, preload and datum references |
| Tolerance | “Precision cut” | Measured limits, inspection condition and relaxed or compressed state |
| Use | “Protect during transport” | Manual or automated insertion, stacking load and named shipping hazards |
Tie tolerances to formulation, recovery, temperature, cavity depth and cutting process. A tight tolerance for Precision Foam Cutting may fail after recovery or in a cold warehouse; manual insertion also needs more clearance than automated loading. Require the supplier drawing to state measured tolerances, inspection conditions and critical datums.
Shri Ram Enterprises can use this information to scope Custom Foam Inserts without treating a material name as a complete specification. That prevents a low quotation from becoming an expensive redesign.
Related products
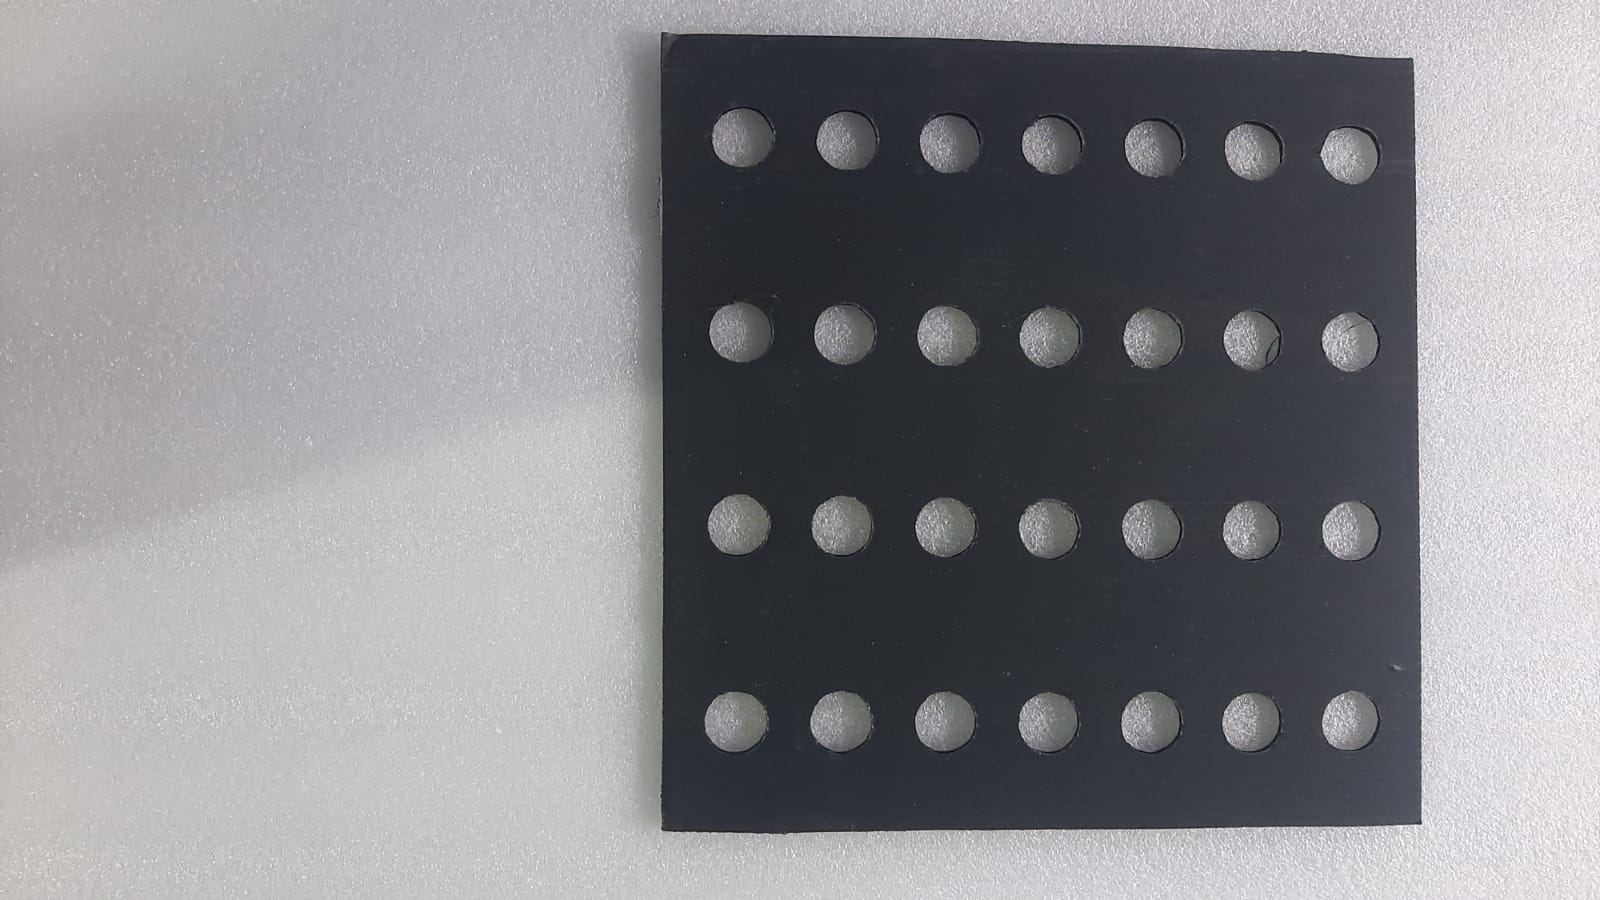 | Crosslink Foam Crosslink Foam is a durable closed-cell foam material used for cushioning, shock absorption and protective packaging. View product → |
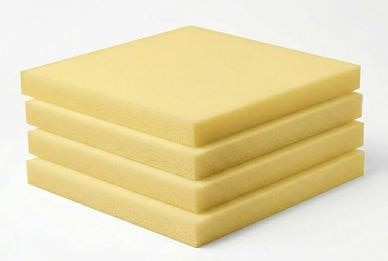 | PU Foam PU Foam is a versatile cushioning material used for protecting products against impact, vibration and movement during storage and transportation. View product → |
How to Validate Fit Before Approving Production
Approve production only after a first article proves that the real product stays restrained, not merely that its outline fits. Make it with production-intent foam, thickness, surface condition and cutting process; a different sample can misrepresent insertion force, recovery and retention.
1. Place the actual product in every cavity. Load each accessory into its assigned pocket, then close the carton and check lid clearance. A lid touching the product or insert can create a pressure point during handling.
2. Invert the closed package and perform a controlled shake test. Inspect for sliding, rocking, rotation, rattling, contact with the carton and damage at pressure points. Check that controls, lenses, screens and cosmetic surfaces remain clear of force.
3. Run drop, vibration or compression testing that reflects the shipping route. ISTA 3A supports parcel-delivery simulation through conditioning and mechanical hazard sequences; ASTM D4169 requires a distribution cycle and assurance level matched to your supply chain.
4. Compare the results with acceptance criteria written before testing. Define allowable movement, acceptable cosmetic marks, required functional performance and maximum insertion and removal force. A pass is not useful if the pack holds the product only by forcing it into place.
5. Recheck compression set when long storage or repeated shipment could reduce preload. Permanent compression can remove contact force and create clearance after approval, weakening Product Protection. Record the test condition and inspect Custom Foam Inserts again after conditioning.
Frequently asked questions
How does a custom-cut foam component stop product movement?
Accurately positioned cavities and side walls stop sliding, end stops limit travel, and controlled compression zones prevent lift. Contact pads can limit rotation without pressing on fragile parts.
How should you measure a product for a foam insert?
Measure the product’s length, width and height at its largest points, identify fragile areas, mark cable and control clearances, and record features that need support or relief.
How does precision foam cutting affect fit and repeatability?
Precision foam cutting produces consistent cavity dimensions and repeatable part placement. It improves fit while reducing movement, excess material and rework caused by inconsistent manual cuts.
What should you give a foam supplier?
Provide a current product drawing or sample, dimensions, weight, centre of gravity, fragile zones, packing orientation, stacking conditions, expected handling and the required cavity clearances.
How can you validate a foam insert before production?
Pack and unpack several units, check for movement and contact damage, inspect compression after handling, test case closure, and repeat the checks after vibration or drop testing.
Related products
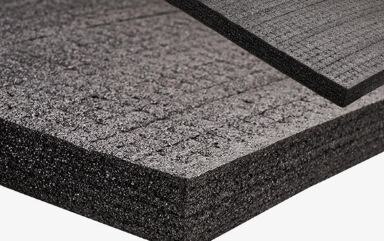 | Kluft Foam can be used for customized cushioning, protective packaging and product-support applications. View product → |
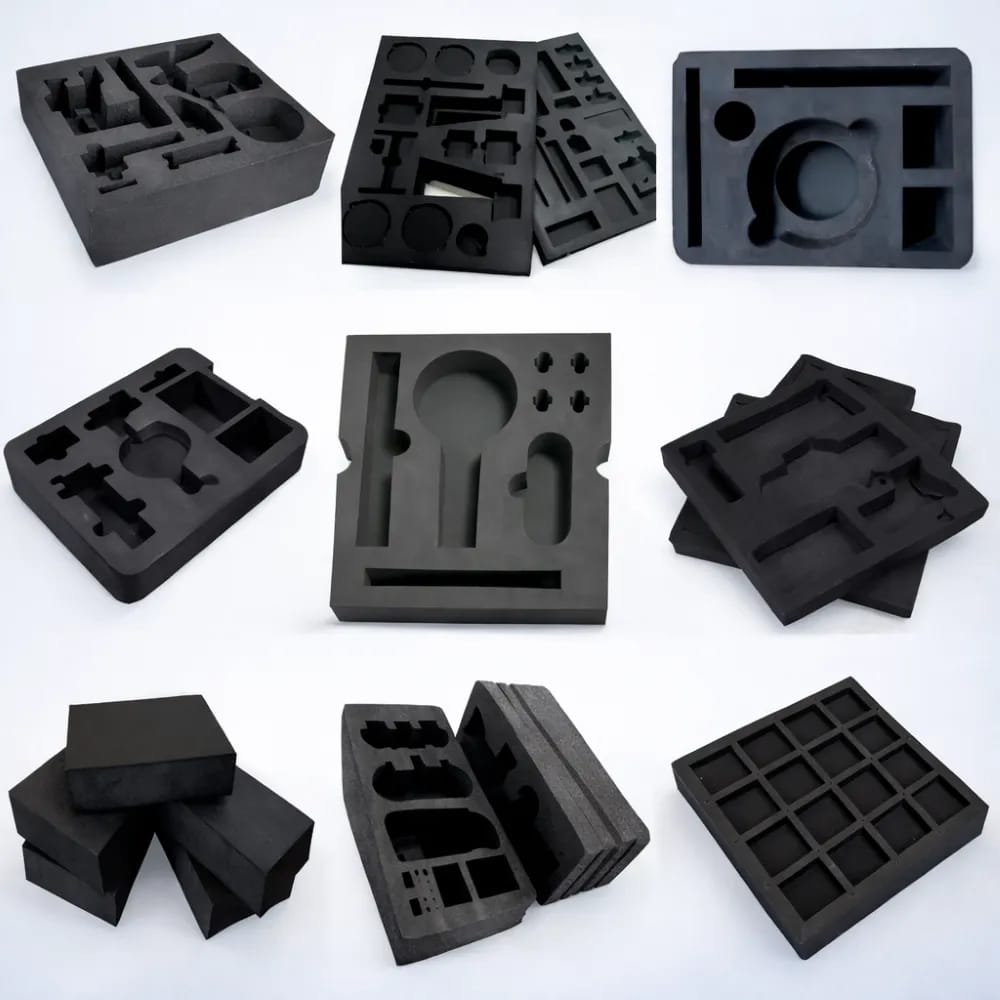 | EVA Foam EVA Foam is a flexible and resilient material widely used for custom protective inserts and cushioning applications. View product → |
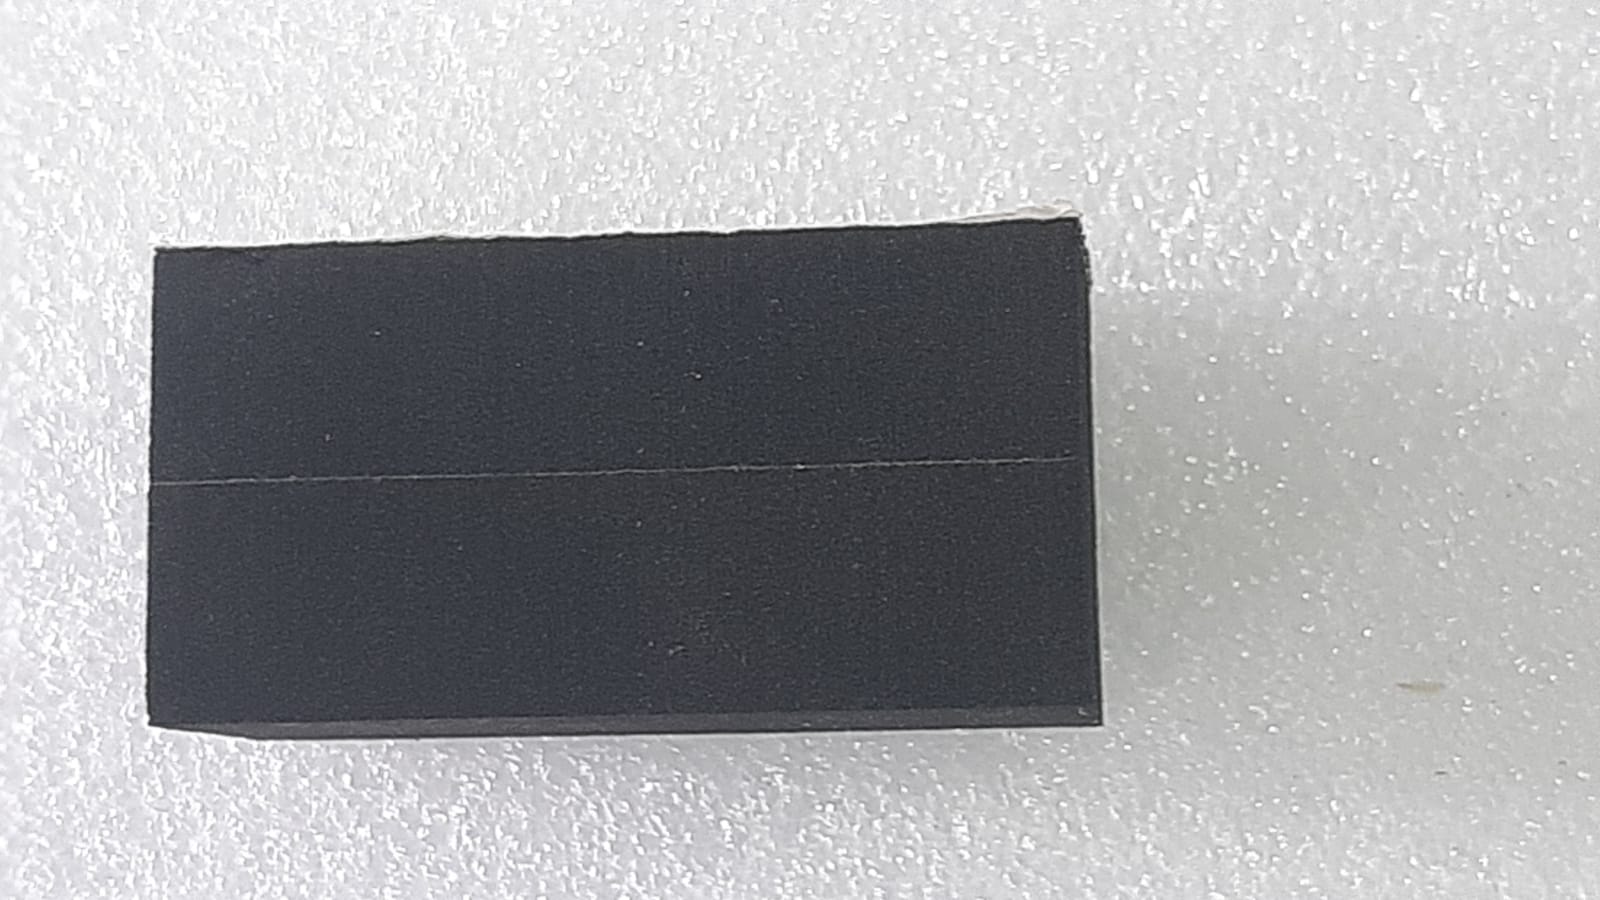 | EPDM Foam EPDM Foam is a flexible foam material suitable for applications requiring cushioning, protection, sealing and resistance properties. View product → |